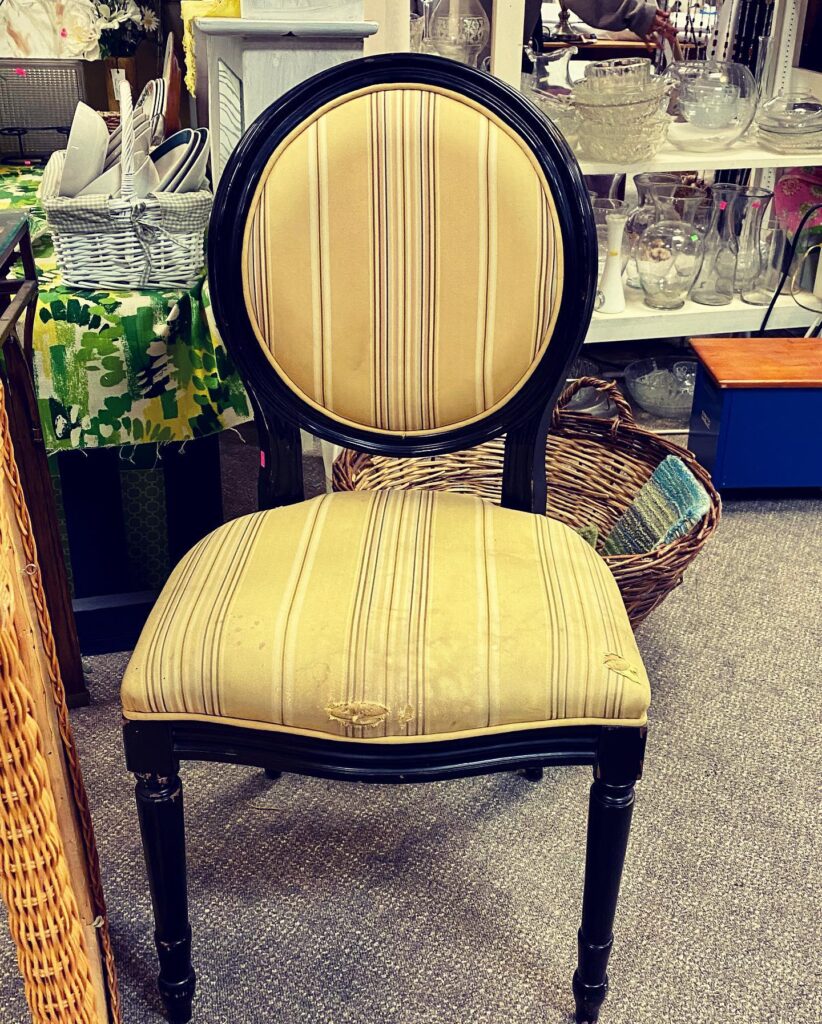
I eyed this chair for weeks at my local creative reuse store (Reconsidered Goods in Greensboro, NC). The chair shape was nice, but the fabric was not. When it comes to chairs, I go for the kind you can easily pop off the bottom to recover. I saw a picture of a vintage tapestry couch that had been painted bright blue. It looked amazing. I figured why not try painting the chair. The chair was $10 and I already had paint.
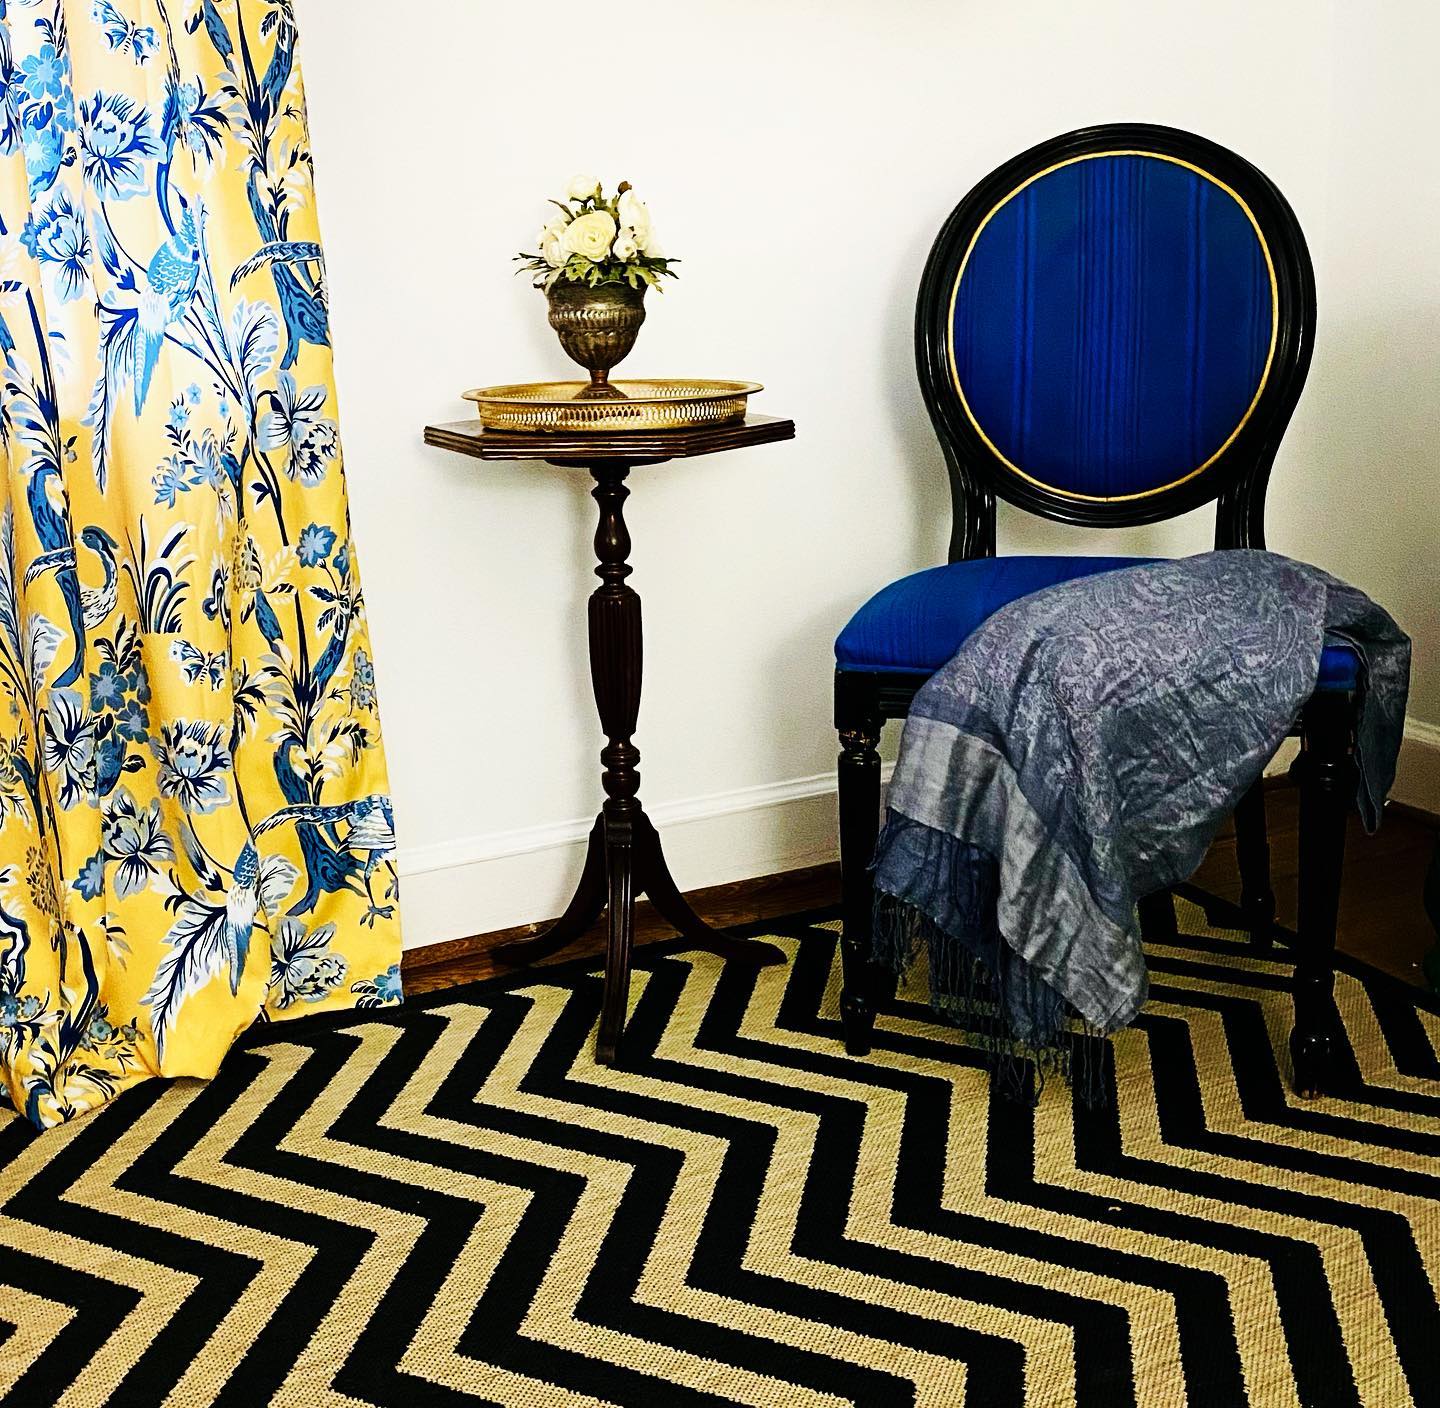
I used a bright blue acrylic craft paint mixed with water. It is difficult to tell from the picture, but you can still see the fabric pattern. It’s a nice effect, but getting the paint to cover evenly was tricky. Starting with a slightly damp chair helps you get even coverage. Since the paint is thin, layering the paint is key. And if you are a fast, sloppy painter (like I am) have paper towels nearby to wipe away any stray marks.
TIP Make sure the water and paint is blended very well to avoid gloopy coverage. Mist the chair with water so it is damp before painting to prevent the paint from bleeding into the fabric unevenly.
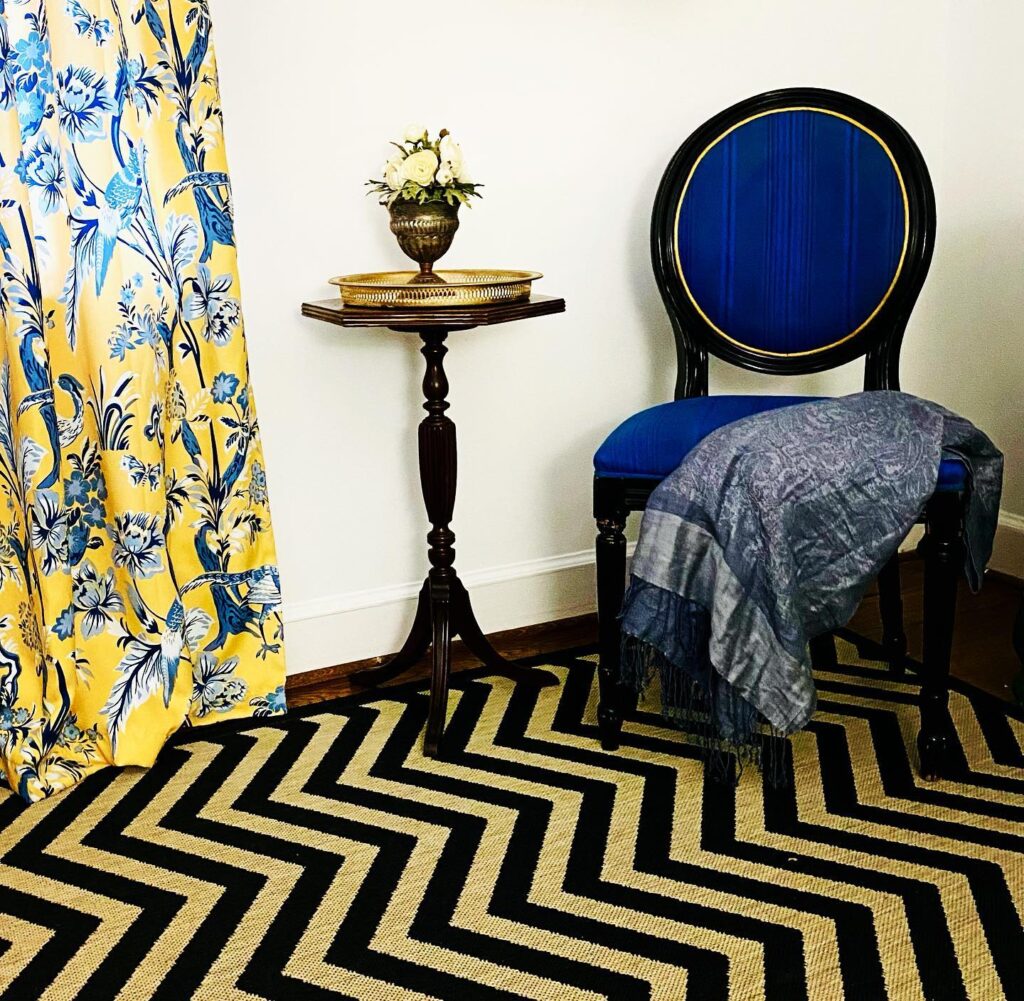
Once I finished painting the chair, I noticed it needed something else. I used my trusty cheap gold acrylic paint and a small brush to paint the trim on the back of the chair. Painting the trim took the most time. I had to be precise and paint multiple coats. A friend recommended adding gold accents to the chair legs. That would have looked great too, but I opted for a simpler look.
Painting the chair didn’t fix the small rips on the front. My lazy solution was to cover the rips with a scarf.